1. Account Registration
Before you begin to use UoM IoT Platform you need to register an account. The process is simple - just click on the "Register" button in the top right corner:

This action will lead you to the registration page where you just need to fill in a form and the registration is done. You should now see a different navbar menu:

2. Node Creation
In order to begin collecting the data from a device you must first create the representation of that device on the platform - a node. Each node consists of up to 10 fields to which your data will be assigned, so you should specify at least one field when creating a node. You can begin creating a node by clicking on the "Create Node" button in the top navbar:

This action will lead you to the node creation form. After filling in the form and creating the node you will be redirected to the "My Nodes" page where you will get to view all of your nodes:
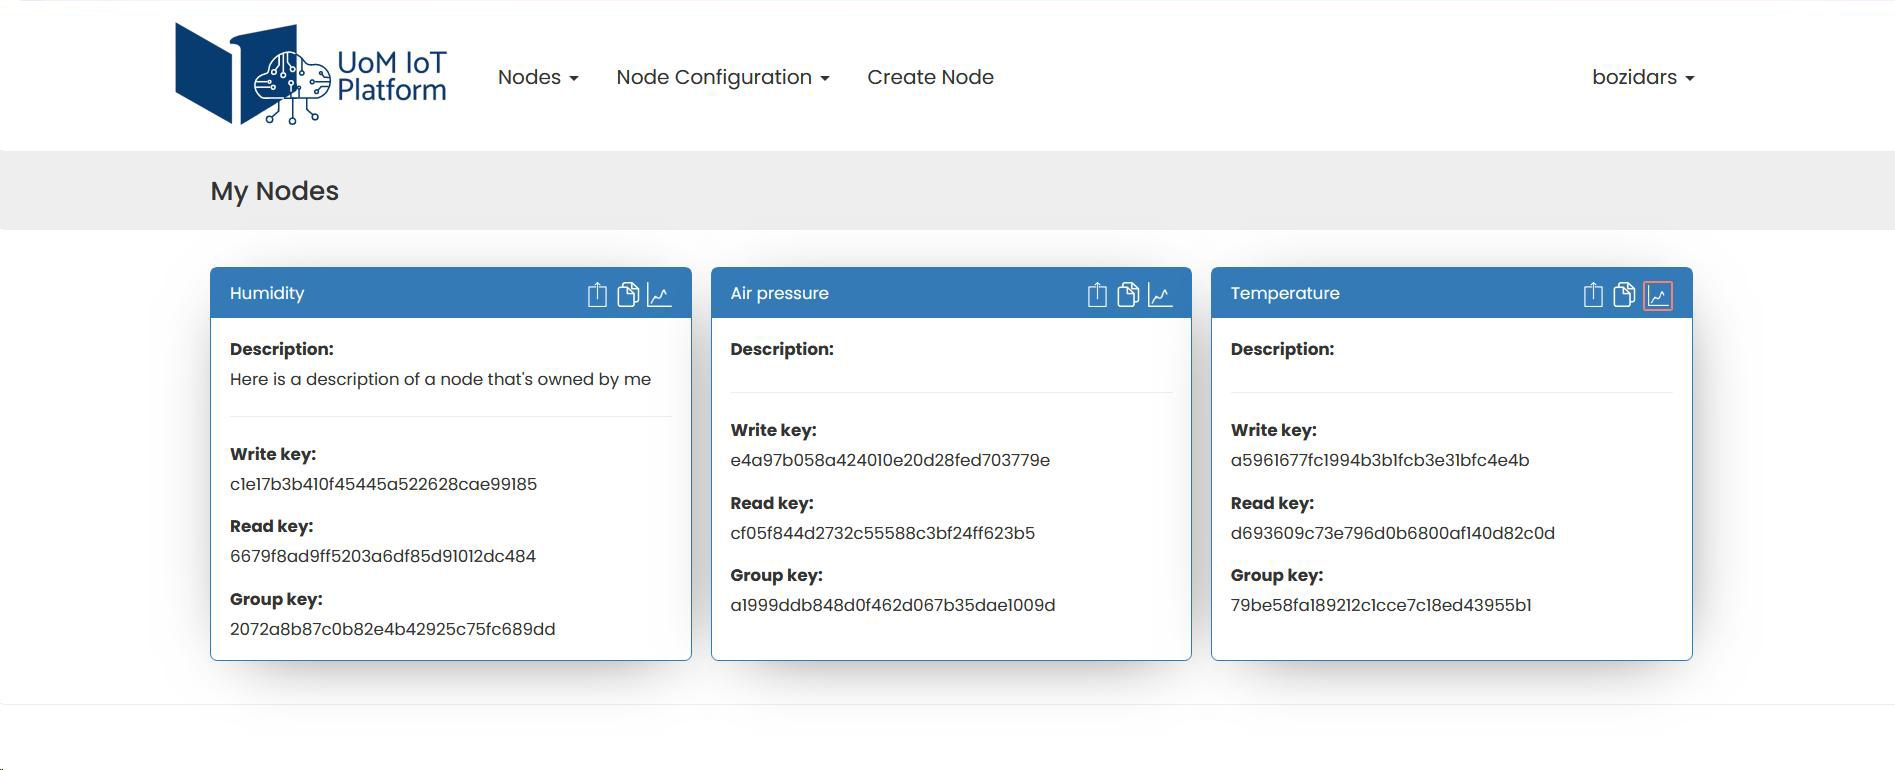
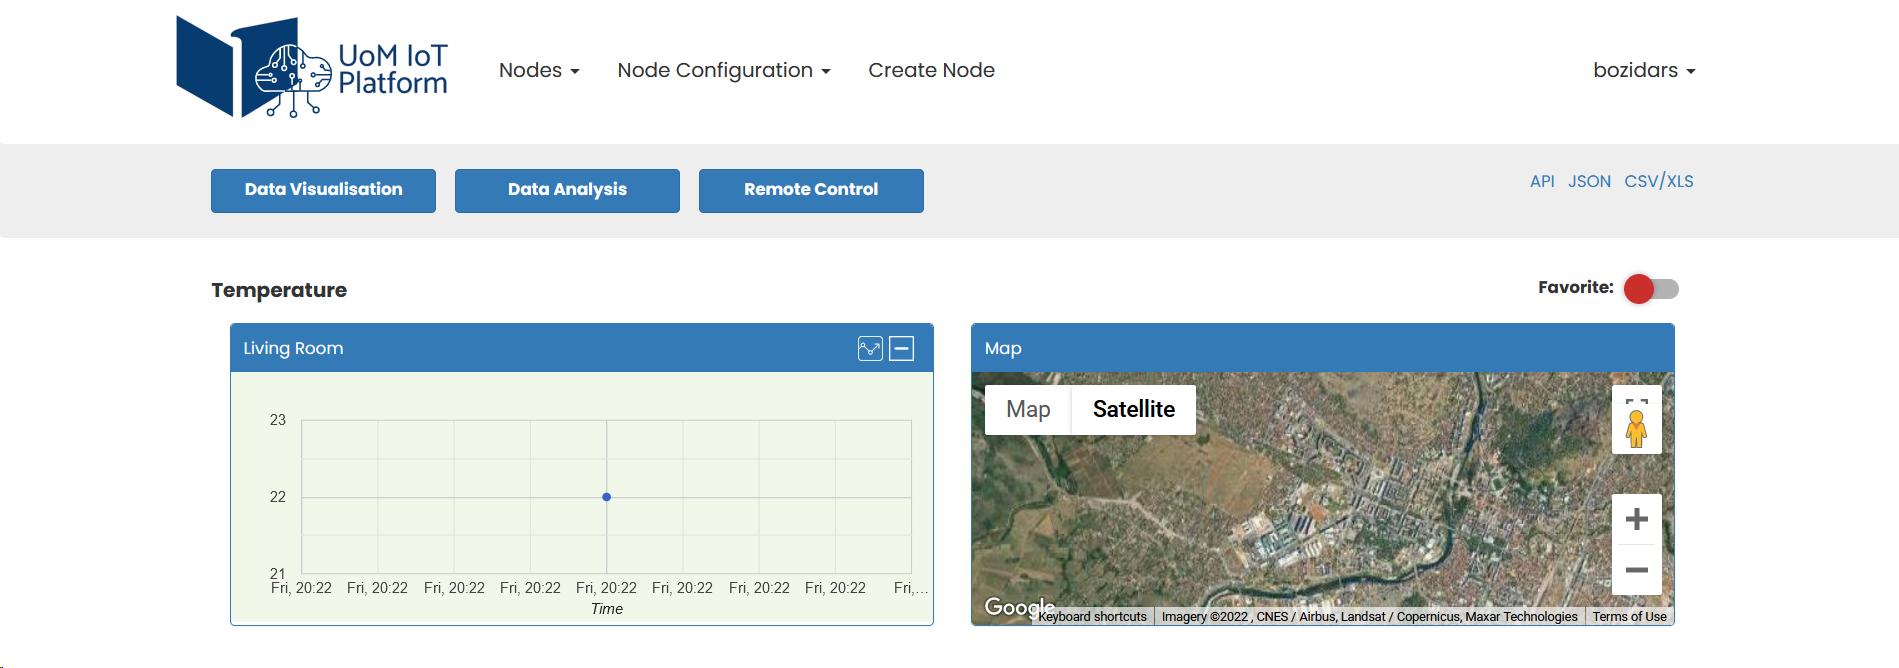
A click on the "charts" icon will redirect you to the node overview page where you can browse your data. At the moment, no charts are available as we are yet to send some data to our node.
3. Data Collection & Management
UoM IoT Platform exposes a simple API endpoint for a device to send its data to. Since the platform is device agnostic you can supply the data from any device that communicates over the HTTP protocol. An example request would look as follows:
http://www.iot.ucg.ac.me/Data.php?wkey=a5961677fc1994b3b1fcb3e31bfc4e4b&field1=22&lat=42.442055&lon=19.248686&alt=50
- wkey - node's "write key" (the node's keys are available on "My Nodes" page or on the node overview page
- field(1-10) - a node's field
- lat - the latitude of the sent data
- lon - the longitude of the sent data
- alt - the altitude of the sent data
All fields except write_key are optional. After successfully performing the request your data should be visible in your node's overview, assigned to the correct fields: